
-
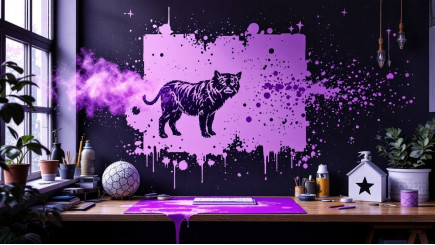
Master the Art of Layering Stencils: A Complete Beginner's Guide to Stunning Creations

- 2187
- 0
- 23 February, 2025
-
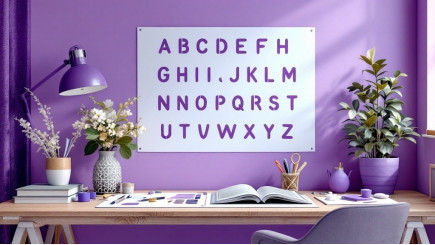
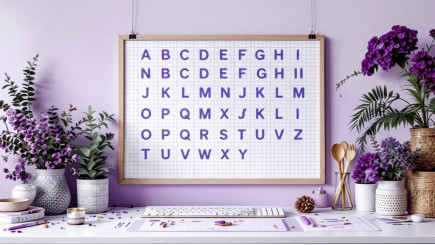
Master the Art of Even Lettering: Essential Tips for Perfectly Spaced Alphabet Stencils 23 February, 2025
- 882
- 0
-
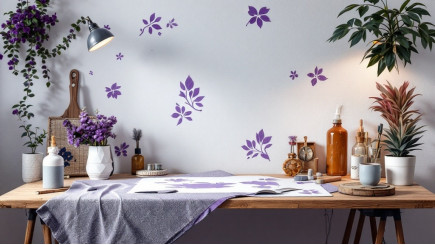
Unleash Your Creativity: Easy DIY Fabric Stenciling Techniques for Custom T-Shirts and Bags 22 February, 2025
- 352
- 0
-
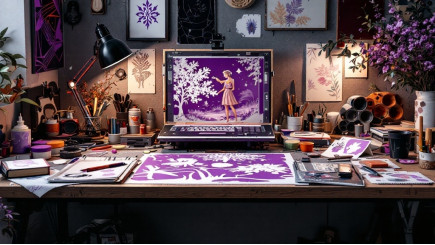
Master Stencil Drawing: 8 Essential Techniques to Create Crisp and Clean Artworks 21 February, 2025
- 291
- 0
-
Avoid These 5 Costly Mistakes When Using Spray Paint and Stencils for Perfect Results 19 February, 2025
- 291
- 0
-
Master the Art of Even Spacing with These Essential Tips for Creating Perfect Letter Stencils 18 February, 2025
- 264
- 0
Stenciling is a versatile and creative technique used in home décor, DIY crafts, and fine arts. Whether you’re a beginner or an experienced artist, mastering stencil techniques can help you achieve stunning decorative effects on walls, furniture, fabrics, and more. In this guide, we will explore various stencil techniques, essential tools, and expert tips to enhance your stenciling skills.
Understanding Stencils and Their Uses
A stencil is a cut-out pattern or design used to transfer an image onto a surface by applying paint, ink, or texture through the openings.
Types of Stencils:
- Single-use stencils – Made from paper or vinyl, ideal for one-time projects.
- Reusable stencils – Made from mylar or plastic, durable for multiple applications.
- Layered stencils – Used to create multi-color designs with depth and dimension.
Benefits of Stenciling:
- Cost-effective – Achieve intricate designs without expensive wallpaper or decals.
- Customizable – Allows personal creativity in décor projects.
- Versatile – Works on a variety of surfaces, including walls, wood, fabric, and glass.
Essential Tools and Materials for Stenciling
To achieve clean and professional results, you’ll need the following tools:
- Stencils – Choose pre-designed or custom-cut stencils.
- Paints – Acrylic, latex, chalk, fabric, or spray paint, depending on the surface.
- Brushes & Rollers – Use stencil brushes for detailed work and foam rollers for larger areas.
- Masking Tape & Adhesive Sprays – Helps secure the stencil in place and prevents shifting.
Basic Stencil Techniques for Beginners
- Dry Brushing Technique – Load minimal paint on a stencil brush and apply light strokes.
- Pouncing Method – Use a dabbing motion with a sponge or brush for even coverage.
- Rolling Technique – Use a foam roller for large stenciling projects.
- Stencil Dabbing – Press paint onto the stencil using a sponge for a soft effect.
Advanced Stencil Techniques for Stunning Effects
- Layering Stencils – Create multi-dimensional designs by layering different stencil patterns.
- Ombre Shading – Blend colors from light to dark for a gradient effect.
- Reverse Stenciling – Paint around the stencil instead of inside it.
- Metallic & Glitter Stenciling – Use shimmer and sparkle paints for a decorative touch.
Creating Texture with Stencils
- Texture Paste Stenciling – Apply thick paste through the stencil for a raised effect.
- Stenciling on Textured Walls – Adjust techniques to work with rough surfaces.
- 3D Stencil Effects – Use layered applications to build up texture.
Spray Painting and Airbrushing Stencils
- Using Spray Paint – Evenly coat stencils for a smooth finish.
- Airbrushing Techniques – Create soft gradients and professional shading.
- Safety Tips – Work in a well-ventilated area and use protective gear.
DIY Custom Stencil Making
- Hand-Cut Stencils – Use craft knives or scissors for DIY designs.
- Cricut & Silhouette Machines – Precision-cut custom stencils with electronic cutters.
- Best Materials – Mylar, acetate, and vinyl sheets are ideal for durable stencils.
FAQs About Stencil Techniques
1. How do I keep paint from bleeding under the stencil?
Use repositionable spray adhesive and apply paint in light layers.
2. Can I reuse my stencils?
Yes, clean them immediately after use to extend their lifespan.
3. What’s the best stencil technique for beginners?
Start with dry brushing or pouncing to prevent excess paint from bleeding.
4. How do I make stencils stick better to rough surfaces?
Use painter’s tape or stencil adhesive for better adhesion.
5. What is the best paint for fabric stenciling?
Fabric-specific acrylic paints that allow for washing and durability.
6. Can I use stencils outdoors?
Yes, use weather-resistant paint and sealants for longevity.
Conclusion & Final Tips for Perfect Stenciling
Stenciling is an enjoyable and accessible technique for artists, DIYers, and home decorators. By experimenting with different stencil techniques, textures, and materials, you can create stunning, customized designs on any surface. Whether you’re painting walls, furniture, or clothing, mastering these methods will help you achieve professional-quality results.