
DIY Stencil Art: Combining Drawing and Stencils for Unique Designs
As I began my journey into the vibrant world of DIY stencil art, I quickly discovered that combining drawing with stencils can unlock a universe of creativity. Each stroke of my brush, each cut of the scalpel told a story, whispering secrets of personalization and uniqueness. Let me guide you through this transformative experience, sharing not only techniques but the very essence of creation.
Choosing the Right Materials
The first step was to gather my arsenal. I learned that selecting quality materials lays the foundation for stunning artwork. My essentials included:
- Card or Stencil Material: A thick, sturdy card (at least 220 gsm) or specialized materials like Mylar became my trusted allies. They ensured that my designs held up under pressure.
- Scalpel and Blades: Armed with a sharp 10a blade and a cutting mat, I conquered intricate designs without fear of damaging my workspace.
- Paint and Brushes: I experimented with acrylics and spray paints, discovering that dome stipple brushes allowed me to weave layers of color with precision.
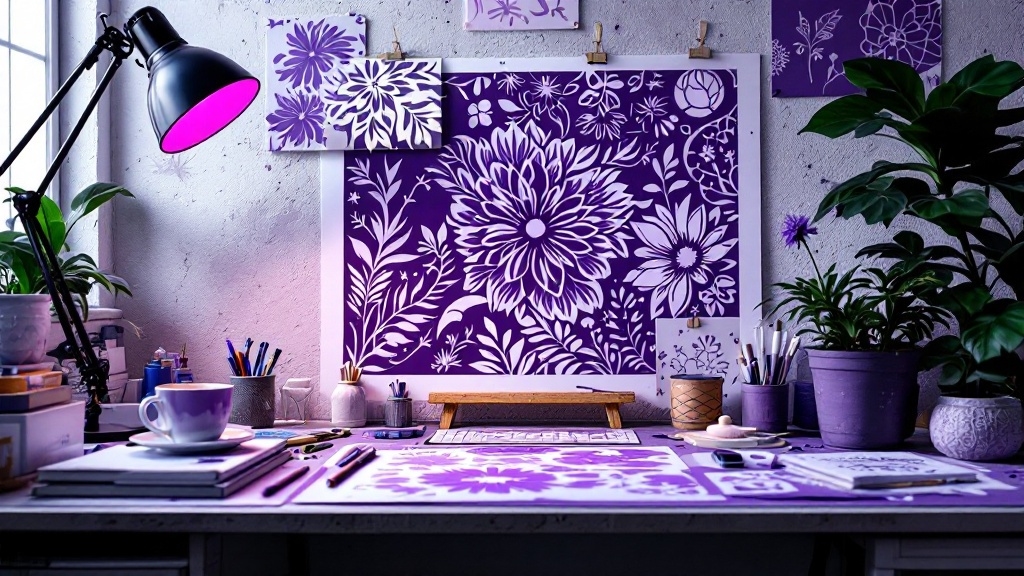
Designing Your Stencil
Sketching Your Design
Every masterpiece starts as a mere idea. I learned to sketch lightly on cardstock, evolving from simple shapes to complex formations, making sure to add structural lines. It was in these rough sketches that my imagination danced freely.
Cutting Out the Stencil
With scalpel in hand, I navigated the paper’s surface. Avoiding rigid lines brought my designs to life; the curves and waves added a sense of motion, allowing the viewer’s eye to travel. Each cut was a commitment, a step closer to the final vision.
Applying Paint with Stencils
Techniques for Painting
The moment of truth arrived when it was time to apply paint. I experimented with various techniques:
- Stipple Brush Technique: I learned to use a stipple brush to apply color in thin layers, controlling the amount skillfully. Keeping the brush almost dry kept the paint at bay, preventing it from seeping beneath the stencil.
- Sponge or Roller Technique: Using a sponge, I rolled paint in one direction, keeping edges clean—a technique perfect for home decor projects.
- Squeegee Technique: For thicker paints, a rubber squeegee became my wand, pushing vibrant hues into my stencil with precise vigor.
Layering and Combining Techniques
Layered Artwork
The thrill of layering took my art to heights I never imagined. I combined stencils with expressive materials like decorative papers and encaustic wax. Each layer revealed new depths, both visually and emotionally, culminating in stunning, textured pieces.
Multi-Layer Stencils
Creating two-layer stencils taught me the beauty of dimensionality. The careful alignment of my designs each time was a reminder of the intricacies of art. Light coats of paint became the secret to a rich, textured finish.
Tips for Beginners
- Use the Right Tools: Gloves protected my hands, while the cutting mat safeguarded my workspace. Safety first!
- Work in Thin Layers: Gradually building colors helped maintain clarity and vibrancy.
- Keep the Stencil Secure: A simple trick—tape or my fingers—to hold my stencil steady transformed potential chaos into smooth strokes.
Creative Applications
The possibilities felt endless! I found joy in creating:
- Wall Art: My walls became canvases, adorned with intricate patterns that invited admiration.
- Craft Projects: Tote bags and even cookies bore the marks of my stencils, delighting friends and family.
- Mixed Media: The fusion of stencils, drawing, and various techniques birthed a new form of expression that felt uniquely mine.
In this journey, I learned that DIY stencil art is not merely about techniques; it’s a celebration of creativity and self-expression. Each piece crafted tells a story, inviting others to ponder and dream. So, gather your materials, let your imagination soar, and begin crafting your narrative through stencil art.
For more inspiration, explore wall stencils or delve into the world of art stencils. The journey is just beginning!