
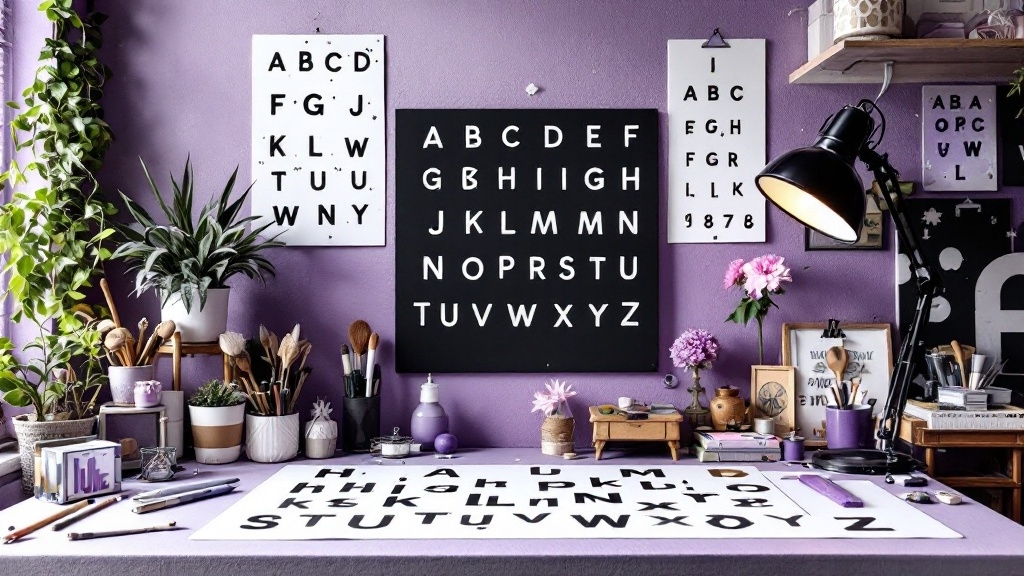
DIY Guide: How to Space and Position Alphabet Stencils Like a Pro
As I stood in front of my blank canvas, anticipation filled the air. I had a vision, a message waiting to be brought to life using alphabet stencils. The challenge lay not just in the creativity of the design but in the precision of spacing and positioning. Here’s how I mastered the art, and how you can, too.
Planning and Measurement
Measure the Space: Before diving in, I took out my measuring tape. The right dimensions are crucial. I meticulously measured the area where my stenciled letters would reside, ensuring everything fit harmoniously. Using graph paper, I sketched my design to scale, marking each square as an inch. This little step saved me from errant placements later.
Measure Letter Height: Each letter occupies space, and knowing its height is key. I took a moment to measure each stencil, visualizing how they would align with my design. This foresight paved the way for a balanced layout.
Using Registration Marks
Stencils with Registration Marks: A wise choice is to opt for stencils that already include registration marks—those handy lines or holes that guide alignment. If your selected stencils lack these, fear not. I often draw my own horizontal and vertical lines directly on the stencils to create my reference points.
Aligning Stencils: With stencils prepared, I aligned the right edge of the previous letter with the indexing line of the next character. Ensuring the bottoms aligned with a horizontal line on my workpiece became my mantra—one that I repeated until it felt instinctive.
Manual Alignment Techniques
Centering Letters: To achieve balance, I identified the middle letter of my intended text. This became my guide, the axis around which the rest of my letters would revolve. For instance, stenciling a name, I centered that pivotal letter with a guideline on my canvas.
Eyeballing and Measuring: While I trusted my eye for estimates, I also leveraged a ruler to maintain accuracy, measuring the width of each letter and the spaces between them. This dual approach ensured consistency, guiding my hand as I worked.
Practical Steps for Alignment
Draw Guidelines: Armed with a light pencil or chalk, I drew soft horizontal and vertical lines on my workpiece. These invisible allies revealed themselves as essential tools for aligning my stencils flawlessly. Using a carpenter's level, I checked their evenness, bringing peace to my heart.
Tape the Stencils: With guidelines in place, I utilized low-tack tape—my trusted painter's friend—to secure the stencils. This gentle adhesion allowed me to make necessary adjustments without marring my surface.
Align Each Letter: Placing each letter stencil became a rhythmic dance. As I followed my guidelines, I ensured that each letter's bottom touched the horizontal line while the sides aligned perfectly with vertical marks. If a letter strayed, I adjusted it back into perfect order.
Tips for Even Spacing
Consistent Spacing: Spacing between letters can make or break your design. I made it a point to check that every gap remained evenly measured. Utilizing registration marks, I adjusted the spacing, mindful that some letters like 'i' and 'n' possess different widths.
Check Your Work: Periodically stepping back to assess my work was crucial. I often asked myself, “Does this look good?” This moment of reflection allowed me to make real-time adjustments before committing to paint or other mediums.
Specialized Stencil Sets
Masking Alphabet Stencils: I discovered the magic of specialized stencil sets, particularly those designed with uniform squares for each letter. This innovation simplified my work, assuring that alignment and spacing occurred without a hitch.
Common Mistakes and Solutions
Avoiding Errors: In the frenzy of creativity, I learned to double-check spelling and layouts before beginning the painting process. Mistakes happen. If I noticed any during stenciling, correcting them was noticeably easier prior to paint drying.
By nurturing these techniques and insights, you too can transform your alphabet stenciling endeavors into professional-looking art. Embrace the precision, and your DIY projects will resonate with finesse.
For more inspiration and specialized stencil designs, explore alphabet and number stencils. Let your creativity soar!