
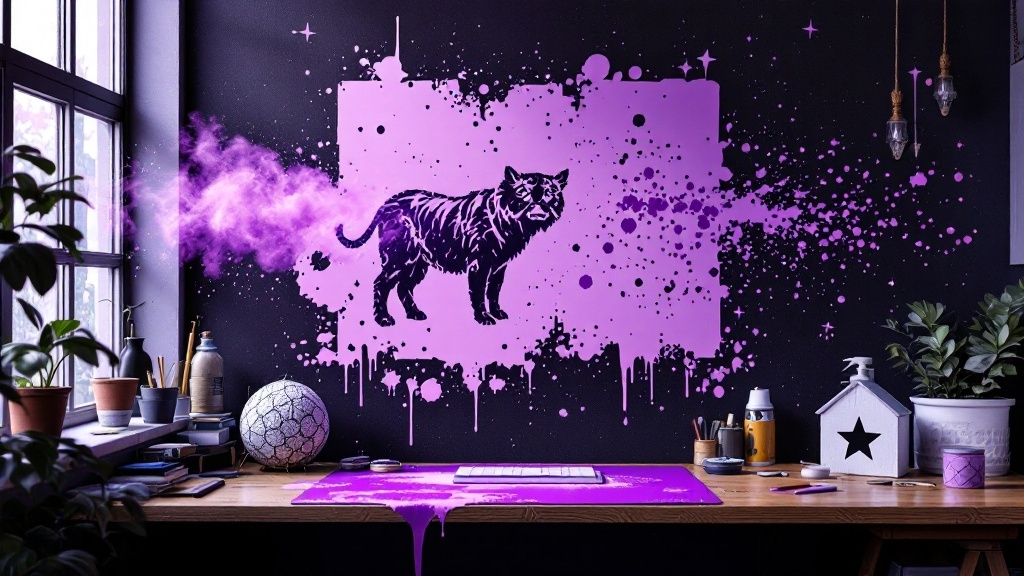
How to Spray Stencil: A Step-by-Step Guide for Beginners
The moment I held a freshly cut stencil in my hands, I felt a rush of excitement. A blank canvas awaited my touch, ready to come alive with color and design. This guide is a reflection of my journey, filled with tips and techniques to help you achieve the same artistic magic. Let's dive into the world of spray stenciling.
Preparing your stencil and workspace
First things first. If you're like me, you might want to create your own unique stencil. Begin by sketching your design on paper, letting your imagination flow. Then, carefully cut it out with a sharp knife or a craft cutter. The thrill of seeing your creation take shape is unmatched.
When choosing your stencil material, consider options like mylar plastic. This durable, reusable material is easy to clean. It will last through multiple projects, making your investment worthwhile. If you're seeking geometric patterns or artistic designs, mylar stencils are your best friend.
Securing the stencil
Once your stencil is ready, it’s time to secure it. Spray the back of your stencil with a thin mist of repositionable spray adhesive. Let it dry for about 30 seconds, making it tacky enough to adhere flat against your surface. The anticipation builds as I press it into place, imagining the final result.
Alternatively, if you prefer a more traditional approach, use low tack masking tape. It works wonders, especially for finer details, keeping everything in place without the risk of excess residue.
Protecting the surrounding area
The magic often happens with a splash of color, but that means preparation. I always mask off the areas around my stencil to avoid overspray and unwanted splatter. A simple layer of newspaper and masking tape does the trick, freeing me from worry and letting my creativity flow freely.
Safety precautions
Never underestimate safety. As I gear up, I don my mask, goggles, and disposable gloves, feeling ready to tackle my artistic endeavor. Remember, working in a well-ventilated area is essential to keep those fumes at bay.
Painting the stencil
Choosing the right spray paint is crucial. I prefer fast-drying, acrylic-based options. A little shake of the can distributes the paint evenly, ensuring vibrant results. Remember, the first spray is always a test run!
Spraying technique
- Spray from about 10 to 15 inches away to avoid pooling. I’ve learned this lesson the hard way.
- Use short bursts—press the cap quickly, moving rhythmically across the stencil. This creates an even texture.
- Alternatively, a sweeping motion can build up color nicely, making it a personal favorite of mine.
Before indulging in your masterpiece, make sure to test the spray on scrap cardboard. Each journey begins with a little exploration.
Avoiding common mistakes
Through my experience, I've learned that less is more. Over-spraying can lead to bleeding, ruining your design. Ensuring the stencil is secure and maintaining the correct distance are vital steps. Familiarize yourself with your materials to avoid a “gallery of failure.”
Drying and removing the stencil
Once your design has a fresh coat of paint, patience is key. Wait for it to dry slightly. The paint should be tacky to the touch but not wet. If you're eager, you can use a hair dryer on a low setting to speed up the process.
When the time comes to remove the stencil, I recommend doing it carefully. Take your time, removing the newspaper and stencil without disturbing your freshly painted masterpiece.
Additional tips and variations
Experimentation is where the fun begins! Mixing colors, varying the distance, and trying different techniques opens up a world of creativity. Since your stencil is reusable, feel free to test new effects on various projects. Whether it’s a canvas or a custom t-shirt, the possibilities are endless.
As you journey into the realm of spray stenciling, remember to prioritize safety and practice patience. The results will speak for themselves, giving you confidence in your artistic abilities. For those looking for inspiration, check out the home decor stencils or the abstract designs stencils that can elevate your projects.
Art is about expressing yourself, and with these guidelines, you are ready to create professional-looking designs that reflect your style. Embrace the colors that await your touch, and unleash your creativity!