
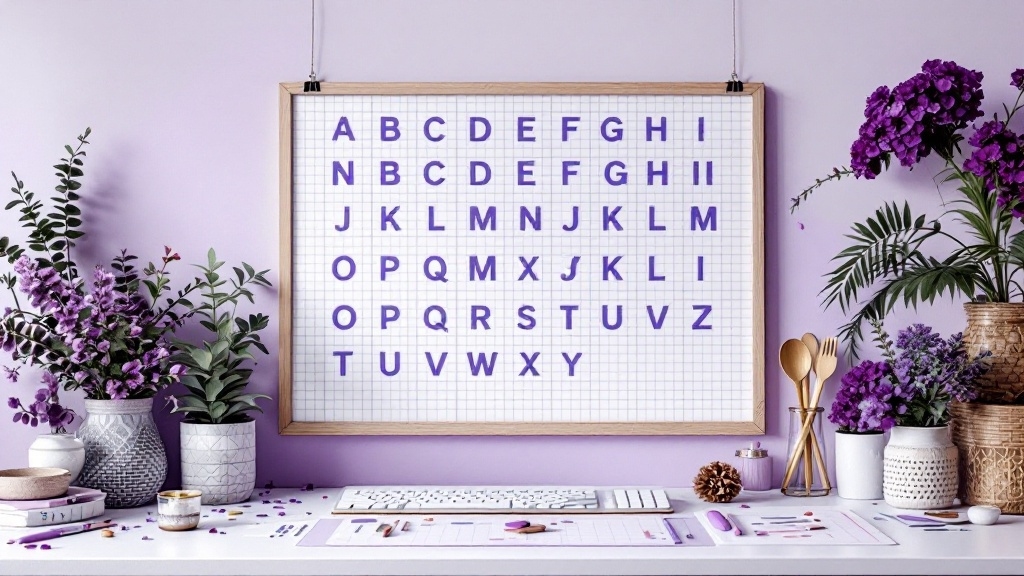
How to Create a Grid for Evenly Spaced Letter Stencils
As I stood in front of the blank canvas, I felt a rush of excitement. The potential of transforming that space with neatly placed letter stencils was thrilling. Yet, I knew that success depended on one critical element: the grid. Here’s how I approached the task, step by step.
Measuring and Planning
Measure the Space
First, I took my tape measure and got down to business. I measured the area where I planned to place the letter stencils. It wasn’t just about squaring off dimensions; it was about envisioning how each letter would interact with its surroundings. Would they breathe? Would they feel pushed up against the walls? This was the foundation that would determine how many letters would fit comfortably.
Sketch the Design
With measurements in hand, I grabbed some graph paper. I assigned a specific ratio—one square equating to one inch. This tangible scale allowed me to visualize and adjust my lettering design to achieve the perfect balance. It's incredible how such simple sketches can lay the groundwork for stunning visuals.
Creating the Grid
Use Registration Guides
If you’re lucky enough to have stencils with registration guides, count your blessings! These little markings are gems, helping you line up your stencils like a professional. I always made it a point to align adjacent stencils using these guides for that ultimate even spacing.
Draw Horizontal and Vertical Lines
With a yardstick and some chalk, I drew horizontal lines across the surface. Each line was a promise of precision. To ensure they were level, I relied on my trusty carpenter’s level. These guide lines would dictate where my letters would begin and end, weaving a fabric of order in the chaos of creativity.
Add Custom Registration Marks
No registration marks? No problem. I took the initiative and added my own. By drawing horizontal lines at the top and bottom of each letter and vertical marks at equal distances from the edges, I created my personalized guide. This attention to detail was crucial, allowing for alignment as I moved forward.
Placing the Stencils
Use Low-Tack Tape
To secure my stencils, I reached for some low-tack tape—painter’s tape, to be specific. It held everything in place nicely, allowing me to focus on the craftsmanship without the fear of messing things up. With each projector-like placement, I felt the vision sharpening.
Align the Stencils
As I lined up the bottoms of the letters with the chalk lines, a sense of satisfaction washed over me. The registration marks I had previously drawn became anchors. The letters began to align as though they were rehearsing for a grand performance.
Tips for Even Spacing
Measure Between Letters
It’s surprising how different letter widths can impact the overall look. I made it a point to measure from the widest point of one letter to the widest point of the next. It was a lesson in aesthetics, where balance and harmony come from thoughtful spacing—even in letters.
Use Grid Tools
For those venturing into digital realms or needing precision, I highly recommend tools like the Grid Builder in Procreate. These tools offer anchor points and grid lines, making it easier to keep everything straight. They can be adjusted to fit specific letter dimensions, promising even spacing like never before.
Final Adjustments
Check and Adjust
As I placed the last stencil, I took a step back. A visual inspection was in order. Did the letters breathe? Were they evenly spaced and aligned? This final moment of truth became a ritual—a chance to make any necessary tweaks and adjustments, ensuring the letters were just right.
Key Takeaways
- Measure and plan the space and design before starting.
- Use registration guides or add custom marks to align stencils.
- Draw guide lines on the surface for level and straight placement.
- Secure stencils with low-tack tape.
- Measure between letters to ensure even spacing.
- Utilize grid tools for digital or precise work.
By following these steps, you can create a grid that leads to professional-looking letter stencils. Each step echoes creativity and precision, two vital ingredients for any project. As I looked at the finished piece, I realized that elegant simplicity lay in the meticulous setup. Now, it was time for you to embrace the challenge of even spacing and explore the art of stenciling, be it at Stencilair Alphabet and Numbers Stencils or beyond!