
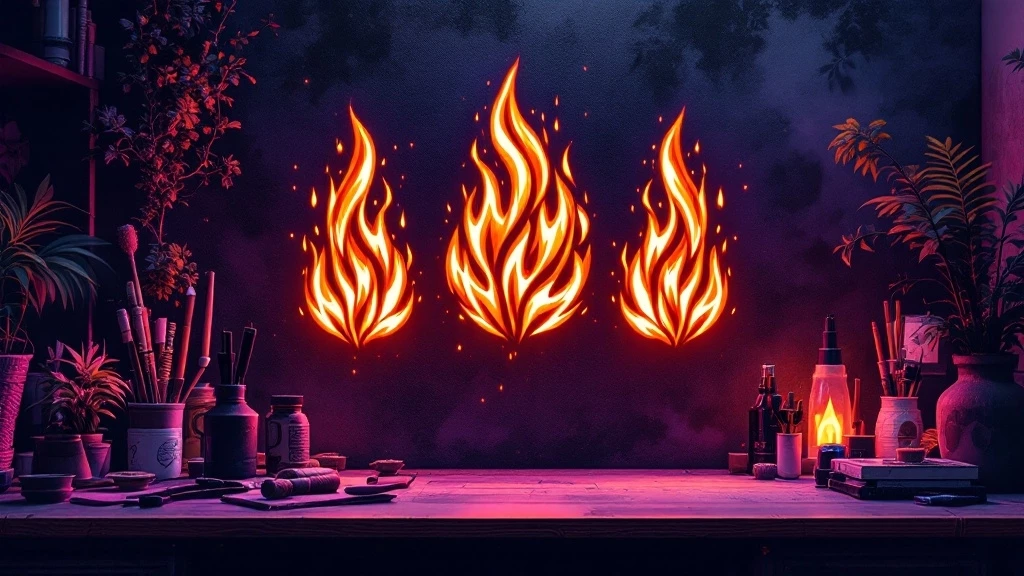
DIY Flame Stencils: How to Create Custom Fire Designs for Airbrushing
When I first dipped my brush into the world of airbrushing, the thought of creating custom flame designs felt like a distant dream. Yet, with a few simple tools and a bit of creativity, I discovered the magic of DIY flame stencils. Join me as I guide you through the thrilling process of designing and using flame stencils that can ignite your airbrushing projects.
Designing Your Stencils
The journey begins with a blank sheet—an 8.5 x 11 inch piece of paper or cardstock. Armed with a pencil, I sketched out dynamic flame designs that danced across the page. Each line felt alive, full of potential. For those who might seek inspiration, free downloadable templates are available online, allowing you to create stunning designs without starting from scratch.
Cutting Out the Stencils
Next comes the precision of the cut. Using an Exacto knife or craft knife, I carefully followed the contours of my flame sketches. The thrill of seeing my designs emerge from the paper is unmatched. If you’re looking for an intricate touch, consider laser-cut stencils, which provide exquisite detail.
Preparing the Stencil for Airbrushing
Once the stencils are ready, securing them is crucial. I used fine line tape to hold the stencil flat against my project surface, ensuring every curve and swirl remains crisp. Patience is key here; make sure the stencil lays smooth without any wrinkles or air pockets, as this is where the magic begins.
Basic Airbrushing Techniques
Now, the real fun starts! As I picked up my airbrush, I remembered the essentials: keep it moving. Smooth, steady strokes along the edges of the stencil created a perfect outline, just like the flames flickering in my mind. For the ghost flames, I learned to build the color gradually, allowing multiple passes to create depth and character.
Creating Realistic Flames
When aiming for realism, a blend of opaque colors works wonders. Starting with a two-tone approach helped outline the flames, and then the magic danced with additional layers. Layering colors—from deep reds to bright yellows—added dimension, making the flames leap off the canvas. Remember, thinning your paint ensures better flow and control, crucial for those delicate finishes.
Types of Flame Designs
Tribal flames, intricately crafted using stencils designed specifically for this style, bring a touch of artistry to any project. You can play with size and shape, giving life to multi-colored designs. And for something a bit different, reverse ghost flames bring a twist; by airbrushing around the stencil, I was thrilled with the unique designs that emerged.
Tips and Tricks
- Reference Images: Look to nature or other artworks for inspiration. Mapping out your designs will guide your hand.
- Experimentation: Don’t shy away from playing with colors and techniques. The initial mistakes often lead to the best discoveries.
- Tools Matter: Using various tools like vinyl tape and frisket can help achieve that sharpness and edge precision, while freehand techniques allow for softer, organic shapes.
With these tips and techniques, you are well on your way to creating mesmerizing flame designs that not only capture attention but also showcase your creativity. Dive deep into your imagination, breathe life into your stencils, and watch your airbrushing skills ignite into something extraordinary.
For more inspiration and designs, don’t forget to check out more art stencils that can enhance your airflow. Remember, every stroke tells a story—make yours unforgettable.