
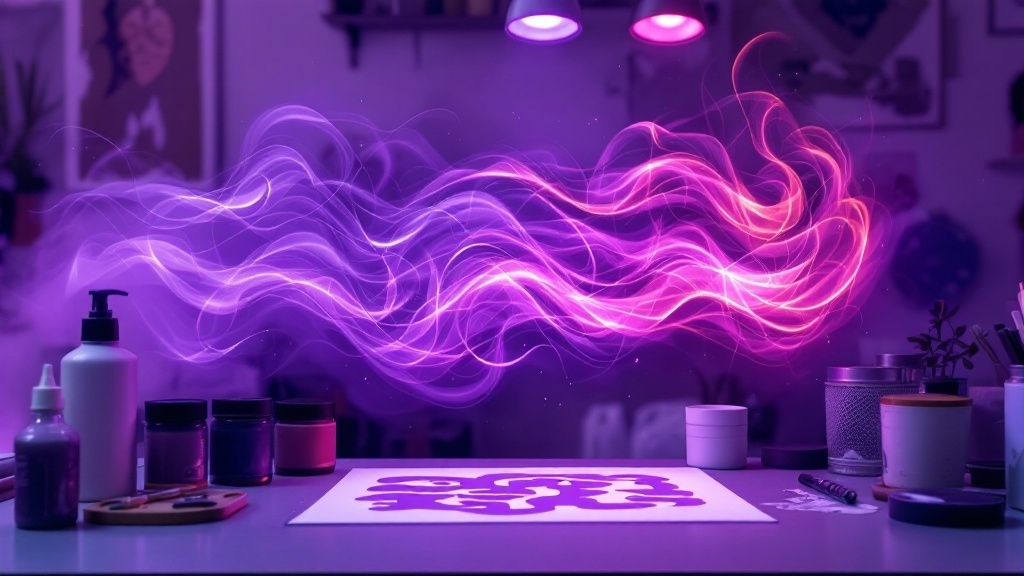
Choosing the Right Airbrush and Paint for Stenciled Flames
As I stood in front of my canvas, the thrill of creating vibrant, stenciled flames washed over me. The tools I would choose would shape not just the design, but the very essence of my artwork.
Choosing the Right Airbrush
Types of Airbrushes
In the world of airbrushing, the choice of airbrush can be overwhelming. Each type offers different advantages:
- Single-Action Airbrush: Easy to grasp, yet limiting. Best for beginners who seek simplicity, but may falter when detail is essential.
- Dual-Action Airbrush: The artist’s companion. With control over both airflow and paint release, it crafts stenciled flames with precision and grace.
Popular Airbrush Models
Among the multitude of options, the Iwata Eclipse HP-CS stands out. Renowned for its quality, it offers versatility for any artistic endeavor. It has been my trusty ally in producing stunning results.
Key Components of an Airbrush
Understanding the anatomy of my tool deepened my mastery:
- Body: The sturdy shell that fits comfortably in my hand.
- Trigger: A gentle press determines the flow, a dance of pressure and paint.
- Nozzle: The fine gateway for a precise spray.
- Needle: Responsive, slim, and essential for color flow.
- Tip: Easily removable for cleaning, crucial for smooth operations.
- Paint Reservoir: The lifeblood of each creation, allowing my vision to take form.
Choosing the Right Paint
Types of Paint
Not all paints are born equal. The right one elevates the art:
- Airbrush Paint: Formulated to flow effortlessly, brands like Createx offer the Wicked line, a vibrant choice for stunning hues.
- Mediums: Adaptability at your fingertips, from thinners to opaque mixers, these additives shape the final touch.
Color Selection and Mixing
I learned quickly that flames are not simply red and orange. For a realistic touch:
- Transparent Colors: Rich reds, luminous yellows, and fiery oranges blend to form the lifelike effects I aspire to.
- Custom Colors: A mix of shades and tints emerges from my palette, each telling its own story.
Using Stencils for Flames
Types of Stencils
The stencil, my guide, arrives in various forms:
- Reusable Stencils: Crafted from plastic or cardstock, they form solid bonds with my canvas, ensuring the paint stays where intended.
- Laser-Cut Stencils: Perfectly precise, they carve out intricate designs, ideal for complex flame motifs.
Applying Stencils
Transforming my canvas into a masterpiece requires care:
- Clean the Surface: Dust flees, leaving behind a pristine slate.
- Secure the Stencil: With precision tape or repositionable adhesives, I lock the design in place.
- Airbrush Technique: Hovering above, I apply paint in soft layers, avoiding paint buildup and achieving crisp edges.
Airbrushing Techniques for Flames
Basic Techniques
Control, my secret weapon:
- Air Pressure: Lower settings for delicate touches, higher for broad strokes—the perfect balance is crucial.
- Motion: Fluidity prevails, steady hands steer the airbrush across the canvas, avoiding splotches.
Specific Techniques for Flames
The heart of my flames beats in my techniques:
- Ghost Flames: Fading colors emerge with multiple passes, building intensity like a whisper of heat.
- Realistic Flames: Study and emulate the wild, untamed shapes of fire for authenticity.
With the right tools in hand, I unveil stenciled flames that flicker with life. They dance upon the canvas, a testament to the choices I made—the airbrush, the paint, and the stencils, all harmonizing into pure artistry. Ready to ignite your creativity? Choose wisely, and let your flames burn brightly.