
DIY Pumpkin Stenciling: How to Create Stunning Designs Without Carving
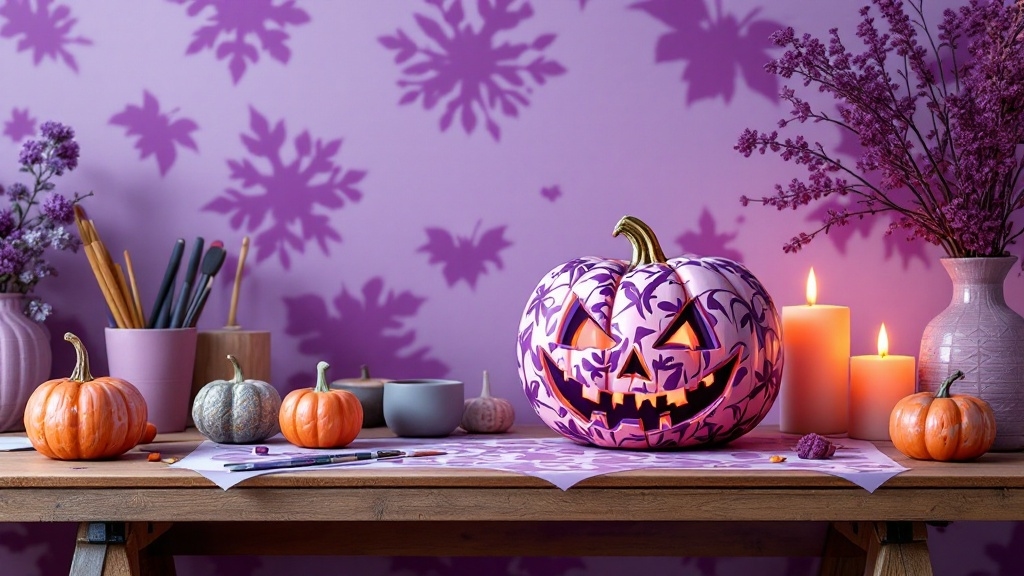
As the autumn leaves begin to fall and the air turns crisp, I find myself drawn to the beauty and warmth of Halloween decorations. This season, I embraced a creative journey—one filled with the delightful ritual of DIY pumpkin stenciling. Unlike traditional carving, this technique allowed for vibrant designs that sparkled with charm and character.
Materials Needed for DIY Pumpkin Stenciling
Before diving in, ensure you gather the essential materials:
- Pumpkins (real or artificial)
- Stencils with various designs or letters
- Acrylic paint, including metallic or glow-in-the-dark options
- Brushes—angled and small for precision
- Masking tape to secure your stencils
- Pencil with eraser for tracing
- Paper towels or cotton swabs for cleanup
- Container of water for rinsing brushes
- Twine or other decorative accents (optional)
Step-by-Step Guide to Stenciling Pumpkins
Preparing the Pumpkin
I chose a plump pumpkin, its surface slightly bumpy but rich with potential. After cleaning it with antibacterial wipes, I felt a surge of anticipation. A clean canvas awaits.
Securing the Stencil
Centering the stencil about 1.5 inches from the stem, I used masking tape to hold it in place. I pressed down firmly, ensuring it adhered tightly to the pumpkin's texture.
Tracing the Design
As the pumpkin's curves challenged my precision, I lifted a white pencil, tracing the design lightly. The moment felt intimate, my breath pausing as the lines began to take form against the orange backdrop.
Applying the Paint
With careful strokes, I picked up my brush. Dipping it into vibrant paint, I filled in each section, moving with intention. It was a dance—colors merging without exceeding the stencil’s confines.
Decorating the Finished Design
Once the paint dried, I removed the stencil to unveil my creation. A sense of accomplishment washed over me. To add flair, I adorned the pumpkin with twine and delicate leaves, breathing life into my masterpiece.
Variety of Design Options
Oh, the possibilities! I explored stencils featuring spooky letters like “BOO” and intricate geometric patterns. The freedom to mix and match allowed my creativity to flow, far removed from the traditional carving method. If you're interested in an array of Halloween stencils, look no further.
Tips and Tricks for Perfect Stenciling
Through my experiences, I picked up a few tips:
- Utilize metallic or glow-in-the-dark paints for a whimsical touch.
- If working with kids, painting is a safe and enjoyable alternative to carving.
SEO-Friendly Conclusion
As I step back to admire my creation, I find peace in this simple yet profound act. DIY pumpkin stenciling is more than just a seasonal task; it's a celebration of creativity, a bridge connecting us to autumn's magic. So grab your tools and let your imagination soar—this Halloween, create stunning designs without carving.
For more stencils that can inspire your creative journey, check out Abstract Designs, Arts and Crafts, and so much more!