
How to Stencil Letters on Wood: A Step-by-Step Beginner’s Guide
I've always been captivated by the rustic charm of wooden signs. The skill of stenciling letters on wood isn't just a craft; it's a way to express yourself, to turn a simple piece of lumber into a treasured keepsake. Today, I want to share with you my journey into this colorful world of wood stenciling, filled with laughter, creativity, and a dash of paint.
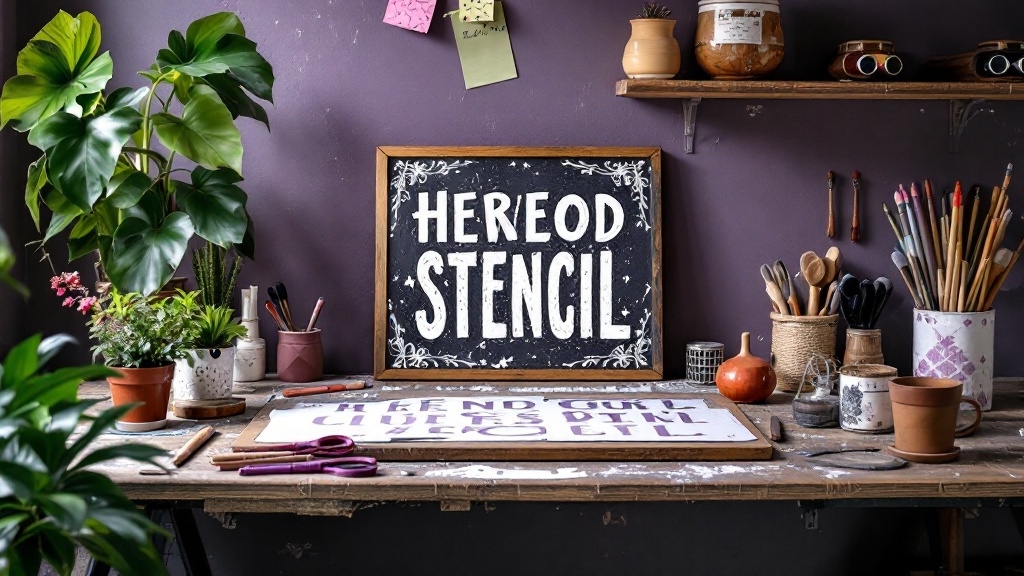
Gathering Supplies
Before diving into this creative adventure, it's essential to gather all the necessary supplies:
- Wood: Any type will do, but I love using cedar and pine for their texture and smell.
- Sandpaper: This is crucial for a smooth finish.
- Alphabet stencils: You can purchase these or make your own from vinyl adhesive or hardboard.
- Tape: Painter’s tape or transfer tape will ensure everything stays in place.
- Paint: Choose your desired color; folk art paint or black chalk paint are my favorites.
- Stencil brush: A high-quality brush, like those from Martha Stewart, works wonders.
- Optional: Carbon paper, jig saw, drill bit, and wood screws for more complex projects.
Preparing the Wood
- Cut the wood: Measure twice, cut once. Trim it to the desired length for your sign.
- Sand the wood: Use sandpaper to smooth the surface. This step is paramount to prevent paint bleed, ensuring a clean finish.
Designing and Positioning the Stencils
- Determine letter spacing: Lay out your stencils to ensure proper spacing. A simple line down the middle of the board can serve as a helpful reference.
- Secure the stencils: Use tape to hold them in place, aligning them correctly to maintain straight lines.
Stenciling the Letters
- Load the brush: Dip your stencil brush in paint and wipe off the excess on a paper towel. Less is more; a small amount prevents bleeding.
- Apply the paint: Dabbing is key—apply the paint through the stencil in a gentle, up-and-down motion to avoid brush strokes.
- Apply multiple coats: Depending on the color and wood type, multiple light coats may be necessary. Remember to let each coat dry thoroughly before adding the next.
Tips for Perfect Stenciling
- Press down on the stencil: Use your finger or a pencil to secure it while painting, reducing gaps.
- Use the right brush strokes: Dabbing achieves crisp lines.
- Practice makes perfect: If you're new to it, consider doing a test stencil first.
Final Steps
- Let it dry: Ensure the final coat is completely dry before removing the stencils.
- Remove the stencils: Gently peel away the tape and stencils to reveal your artwork.
- Inspect and display: Check for imperfections, and if you desire that rustic appeal, lightly sand the edges.
Advanced Techniques
For more complex projects, consider creating custom stencils using hardboard and a jig saw. Cut out each letter, use carbon paper to transfer the design, and secure everything with wood screws. A router can give letters a polished finish, taking your project to another level.
Conclusion
Stenciling letters on wood is not just a DIY task; it’s a journey into creativity and personalization. With the right supplies and a methodical approach, anyone can craft beautiful wooden signs. Embrace the process. Let your heart guide the brush. Your message deserves to be seen, felt, and cherished. So, what will your wooden sign say?
Explore More Stencil Designs
If you're looking for inspiration, check out various stencil designs at Stencil Air.