
How to Seal and Protect Your Stenciled Wood Designs
As I embarked on the journey of creating stunning stenciled wood designs, I quickly realized that the beauty of my work would only be preserved if I took the right steps to seal and protect it. This guide is a reflection of the lessons learned along the way, ensuring your stenciled creations not only shine but endure.
Preparing the Wood Surface
Before diving into the world of stenciling, I knew I had to lay a solid foundation. Preparing the wood surface was crucial.
Sanding
I took my sander and ran it over the wood, feeling the roughness transform under my fingertips. Sanding was the first step to achieving that smooth canvas, eliminating any imperfections that could allow paint to seep through.Clear Coat (Optional)
In moments when sanding wasn't possible, I opted for a clear coat. This clear barrier filled the uneven spots, ensuring the paint wouldn't bleed and mistakes could be cleaned up with ease.Applying the Stencil
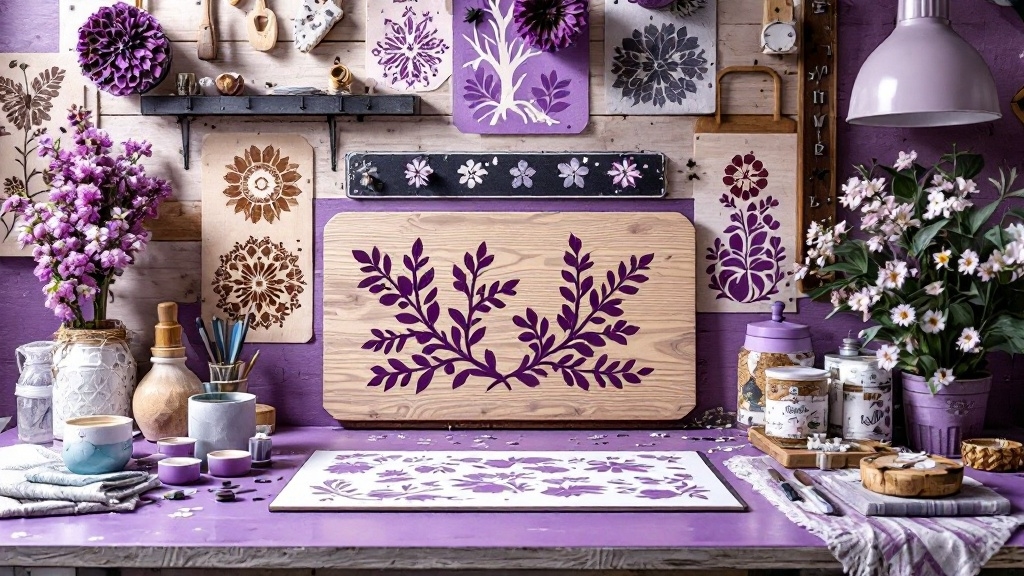
Next came the exciting part—stenciling. To ensure every edge remained crisp and clean, I used proven techniques.
Repositionable Stencil Adhesive Spray
A gentle spray of adhesive on the stencil’s back held it firmly in place. “Just enough,” I reminded myself, as this invisible layer worked to keep paint where it belonged—on the wood, not the surface beneath.Contact Vinyl Paper
For my more intricate designs, I turned to my Cricut machine, crafting stencils from contact vinyl paper. These stencils stood strong, ready to peel away without leaving a trace behind.Mod Podge
A thin layer of Mod Podge caressed the edges, forming a protective barrier. This wasn’t merely a step; it was an anticipation of beauty—a promise of crisp outlines and a flawless finish.Painting the Design
With the stencil in place, it was finally time to paint. I learned quickly that precision was paramount.
Base Coat
Applying the base color first became my little trick. It acted like a shield against any potential bleeding, and I watched as the colors blended seamlessly into my design.Use the Right Brush
I discovered the magic of using a spouncer or a foam brush. With these tools, paint glided smoothly over the stencil, minimizing the risk of those dreaded smudges.Sealing the Stenciled Design
The moment of triumph came when I prepared to seal my artwork. This was my last line of defense against time and nature.
Choosing the Right Sealer
I stood in front of a shelf lined with options—polyurethane, polycrylic, and spray polyurethane. Each promised unique advantages, but for outdoor use, I focused on water-based polyurethane for its resilience.Application Tips
“Patience,” I told myself as I ensured the paint was dry. With thin, even coats of sealer, I felt confident. I chose a well-ventilated space and wiped away excess sealer with a cloth, creating a smooth finish.Final Touches
After removing the stencil, I stepped back to admire my work. Yet, imperfections lingered. I grabbed a small brush for touch-ups—each stroke a conversation with the design.
Maintenance
For signs facing the great outdoors, I learned that gentle cleaning with a damp cloth helped prolong their life, while harsh chemicals were best left on the store’s shelf.Conclusion
By following these steps, I've transformed my stenciled wood designs into lasting treasures. The journey taught me that each stroke holds a story, and each sealed layer protects that story from fading.
If you're seeking inspiration or materials to embark on your own stenciling adventure, visit Stencil Air’s home decor stencils. Let your creativity flourish, and remember—the best designs are the ones that stand the test of time.