
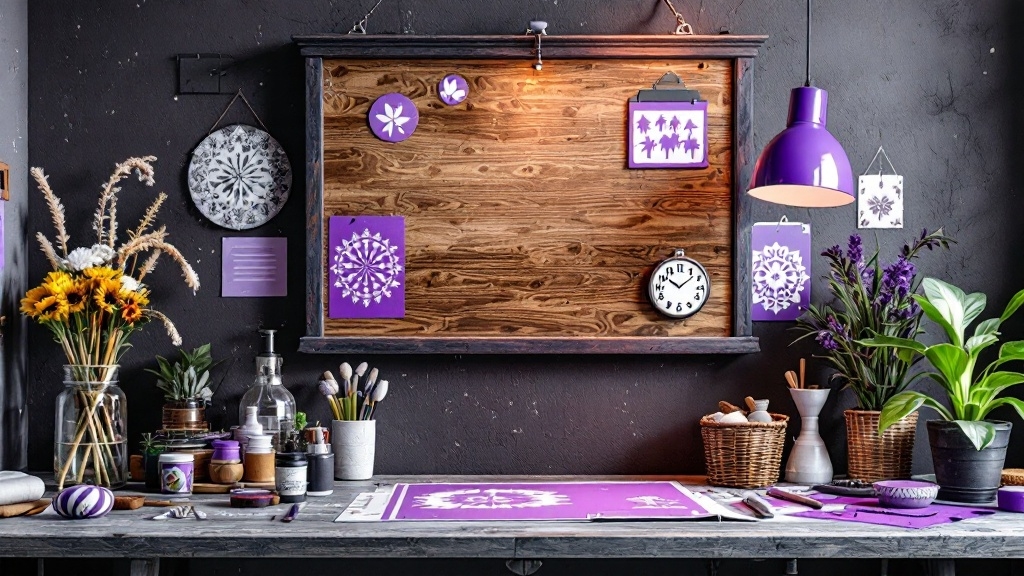
DIY Wood Stenciling: Creative Project Ideas for Home Décor
As I walk through my home, I find myself captivated by the charm and character that each piece of decor brings to the space. One aspect that truly stands out is the art of DIY wood stenciling. This creative endeavor not only enhances the aesthetics of my home but also allows me to express my unique style. Let me share with you the journey of transforming plain wooden surfaces into stunning pieces of art.
Materials and Supplies Needed
To embark on this exciting venture, gathering the right materials is essential. Here’s a simple list of what you’ll need:
- Stencil: Choose between pre-made stencils or craft your own. Tools like a Cricut cutting machine can aid in creating custom designs.
- Paint: High-quality acrylic or latex paint is ideal. Brands like Benjamin Moore Advance ensure a vibrant finish.
- Glue and Adhesive: A good spray adhesive, such as Elmer’s Craftbond, paired with Mod Podge, will keep everything secure.
- Sponges or Brushes: Wedge sponges work wonders for applying paint, while brushes are great for Mod Podge.
- Wood Surface: Starting with a clean, smooth surface is key. A bit of sanding may be necessary to eliminate rough spots.
Preparing the Wood Surface
Before diving into the fun part of stenciling, prep work is crucial. I learned that taking the time to ensure the wood is ready can significantly impact the outcome.
- Sand the Wood: A gentle sanding creates a smooth finish, particularly essential for rough wood.
- Clean the Surface: Dust and debris are enemies to a clean design. I use a blow dryer to ensure the wood is debris-free.
- Prime or Paint: Applying a primer or a base coat of color enhances paint adhesion, setting a solid foundation for your stencil.
Applying the Stencil
Now, let’s get to the heart of the matter—applying the stencil correctly.
- Use Spray Adhesive: Lightly spray adhesive on the back of the stencil and position it on the wood. I often use a credit card to secure the edges.
- Secure with Mod Podge: To prevent the paint from sneaking underneath, I apply a thin layer of Mod Podge around the stencil edges. A quick drying session with a hair dryer speeds up the process.
Painting with Stencils
Painting brings life to the stencil. Here are some techniques I find effective:
- Dry Brush Technique: By using a dry brush, I can control the amount of paint, yielding crisp edges.
- Sponge Application: A wedge sponge allows for an even application—perfect for intricate designs.
- Let It Dry: Patience is key! Waiting for the paint to dry ensures a clean stencil removal.
Creative Project Ideas
The possibilities with DIY wood stenciling are endless! Here are a few project ideas to ignite your creativity:
- Stenciled Wood Signs: Personalize your space with unique signs featuring names or quotes.
- Stenciled Wood Furniture: Give old furniture a fresh look by stenciling tables, chairs, or headboards.
- Stenciled Wood Floors: Add a decorative touch to your floors for an unexpected twist.
- Holiday Decor: Celebrate the seasons with stenciled trays or decorative wooden signs.
Tips for Preventing Bleed
No one enjoys the frustration of paint bleed. Here are personal tips that work wonders:
- Ensure a Smooth Surface: Imperfections will only lead to mess. Smooth out the wood with sandpaper beforehand.
- Use Mod Podge: A clever use of Mod Podge around the edges can save the day.
- Dry Brush or Sponge: Either method minimizes bleed, guiding paint with finesse.
Final Touches
Once the stenciling is complete, it's time for the finishing touches:
- Clear Coat: Protect your masterpiece with a coat of Varathane Waterbased Polyurethane for a glossy finish.
- Cleanup: Properly clean your stencil; a little water and a toothbrush can prolong its life.
With these insights, I invite you to pick up a brush and transform your home with DIY wood stenciling. Your creativity is the only limit. Start your project today and let your personality shine through!
Explore More Stencils
For those seeking inspiration or tools for their next project, check out Home Décor Stencils for various designs that can elevate your DIY game.