
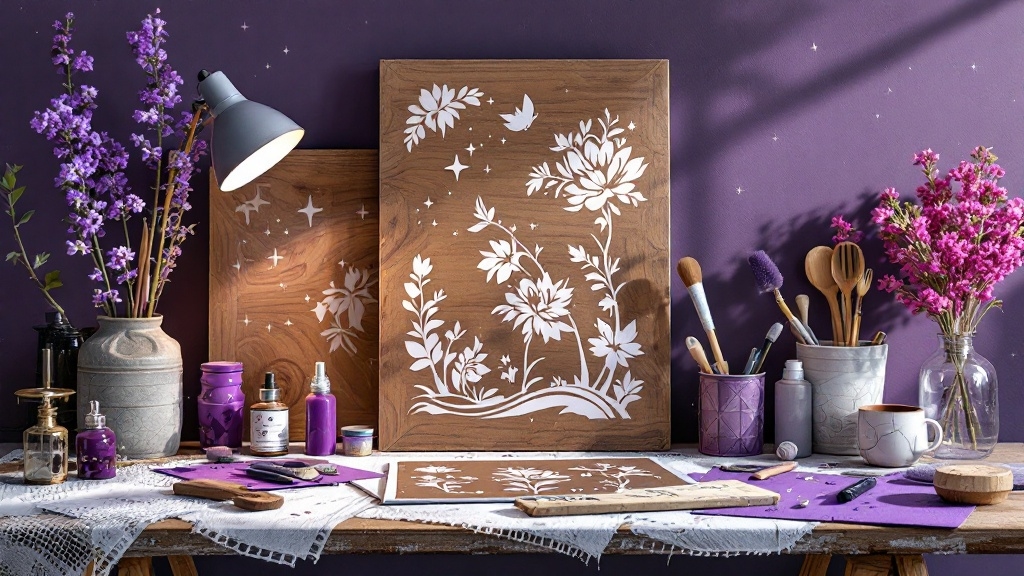
How to Stencil on Wood: A Step-by-Step Guide for Beginners
When the sun streams through the window, illuminating a plain piece of wood, I can’t help but envision the vibrant design that will transform it. Stenciling on wood isn't just a craft; it’s a journey that begins with a simple surface and ends with a stunning creation.
Preparation of the Surface
Before the first stroke, the surface must be ready, like a blank canvas waiting for an artist's touch.
- Clean the Surface: Make sure your workstation is pristine. Clean any debris or dust; I often find it helpful to use a blow dryer to whisk away fine particles that linger after cleaning.
- Smooth the Surface: Touch it, feel it. If it’s rough, lightly sand it down. You want to avoid stenciling over grooves or imperfections that could mar your design.
Materials Needed
Gather your tools, for each one plays a pivotal role in this creative dance:
- Stencil: Choose one that speaks to your vision.
- Paint: Go for hues that resonate with your soul.
- Glue: I prefer Mod Podge or a similar adhesive.
- Spray Adhesive: To firmly anchor your stencil onto the wood.
- Wedge Sponge or Spouncer: Perfect for that smooth application.
- Credit Card or Straight Edge: Essential for securing your stencil.
- Hair Dryer (Optional): For those of us who can't wait!
Step-by-Step Guide
Step 1: Apply the Stencil
Gently, I spray a light coat of aerosol spray adhesive on the back of my stencil, then place it on the wood. I use a credit card, pressing down, smoothing from the center outwards to ensure every corner is perfectly adhered.
Step 2: Create a Barrier with Mod Podge
I paint a thin layer of Mod Podge around the stencil's edges with a brush, ensuring every crack is sealed. Patience is key here; I let it dry for at least 40 minutes, even if my heart races with anticipation. Sometimes, I employ a hair dryer for quickening the process but find that air drying gives me cleaner results.
Step 3: Paint the Design
With a wedge sponge in hand, I dip it into the paint, dabbing it on a plate to avoid blobs. I apply the paint in gentle layers, feeling the design come to life with each stroke, allowing each layer to dry in between. It’s a peaceful rhythm that unfolds.
Step 4: Remove the Stencil
After 7 to 10 minutes of waiting in suspense, I gently peel away the stencil. Care is taken not to smudge the paint; the delicate beauty must be preserved.
Step 5: Seal the Art (Optional)
Once the paint dries completely, I reflect on my creation and contemplate sealing it with a clear coat of varnish or Mod Podge. This enhances the finish and protects my handiwork.
Tips to Avoid Bleeding
To achieve a perfect design, I’ve learned a few invaluable lessons:
- Smooth Surface: A smooth base ensures a clean application.
- Secure Stencil: The bond between the stencil and wood must be unyielding—trust in your spray adhesive and Mod Podge.
- Even Paint Application: A sponge is my ally, patting gently to spread the paint without chaos.
Cleaning the Stencil
Once your masterpiece comes to life, it’s essential to keep your tools in prime condition. Place the used stencil on a flat surface and run water over it while gently brushing with a toothbrush to preserve its form.
Conclusion
Stenciling on wood is more than just a task; it’s an emotional journey, one where patience and care merge into an artistic expression. As I admire my work, I can't help but feel that the joy of creation lingers long after the paint dries.
Explore More Designs
Looking for inspiration? Check out these amazing stencil patterns for your next project:
So, gather your materials, clear your space, and let your creativity soar. The wood awaits your artistic touch.