
How to Stencil a Feature Wall to Elevate Your Home Décor
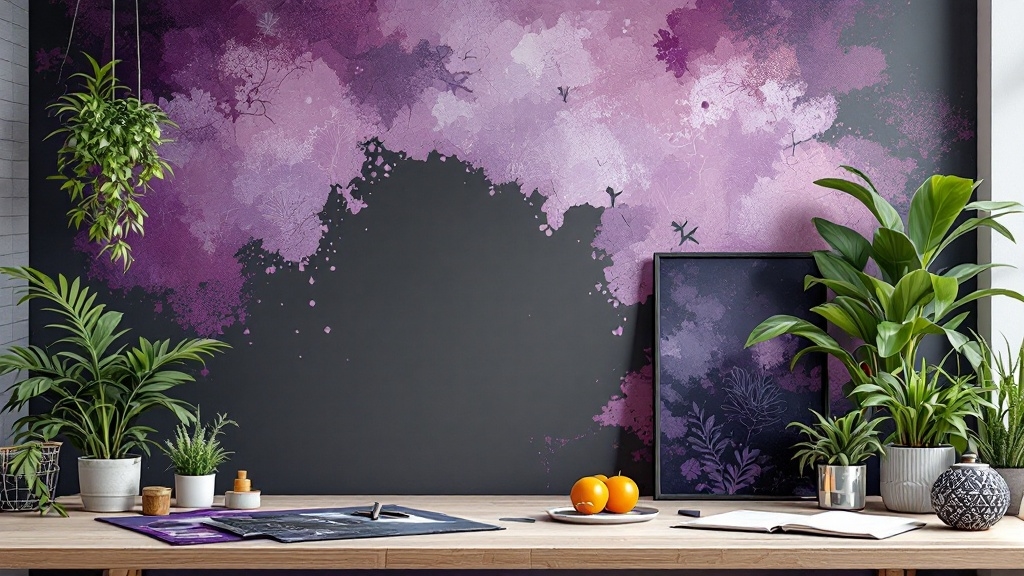
As I stood before my blank wall, I felt a mix of anticipation and creativity stirring within me. I knew that stenciling a feature wall was not just a DIY project—it was an opportunity to infuse my living space with personality and vibrancy. With each careful stroke, I would transform that emptiness into a canvas of expression.
Preparing the Wall and Gathering Supplies
First things first: preparation. I took a moment to admire the potential of the space. The wall needed to be clean, dry, and devoid of distractions. Gather these essential supplies to embark on your artistic journey:
- Wall Stencil: Explore options from quality sources like Stencil Air to find the perfect design for your feature wall.
- Paint: I opted for high-quality stencil cremes to ensure a rich finish.
- Brushes and Rollers: A combination of a large stencil brush and a foam roller proved essential for detailed work.
- Painter’s Tape: This was my safety net, crucial for protecting adjacent surfaces.
- Bubble Level: To maintain accuracy and straight lines.
- Paper Towels: A necessity for offloading excess paint, preventing mishaps.
- Repositionable Spray Adhesive: Optional but a great addition for complex designs.
Step-by-Step Process
Step 1: Protect Adjacent Areas
I carefully masked off adjacent walls, the floor line, and the ceiling line with painter’s tape. This simple step was a small shield against mistakes.
Step 2: Position the Stencil
With a deep breath, I placed and centered my stencil at the top of the wall. Using the bubble level, I ensured it was straight and secured it with painter’s tape. I felt a sense of commitment as I prepared to bring my vision to life.
Step 3: Prepare the Paint
Mixing my custom paint shade was a delight. I loaded my brush carefully, remembering to offload excess paint onto a paper towel. Less is more in stenciling—this crucial step would prevent unwanted drips.
Step 4: Stencil the Wall
Gently applying paint with light pressure felt almost meditative. I rolled lightly, layering color through the stencil, savoring every moment. Each stroke whispered the promise of transformation.
Step 5: Align and Repeat
After lifting the stencil, I marveled at my first repeat. Carefully, I aligned it below, using registration marks as my guide. I felt like an artist, orchestrating a dance of colors across the wall.
Step 6: Final Touches
Completing the stenciling brought a wave of satisfaction. I carefully removed the painter’s tape, avoiding any smudges, and addressed minor touch-ups. My feature wall was now a statement.
Tips for Professional Results
As I gazed at my handiwork, I reflected on these tips that enhanced my experience:
- Use Minimal Paint: To prevent bleed, remember less is more.
- Repositionable Spray Adhesive: A game changer for intricate designs, keeping the stencil flat against the wall.
- Registration Marks: Essential for precise alignment and can be safeguarded with painter’s tape.
- Light Coats: Building up layers gradually helps maintain the design’s integrity.
Changing Up Your Design
The beauty of stenciling is its flexibility. Unlike wallpaper, stenciled art can be easily painted over. This gives me the freedom to refresh my decor anytime, embracing change as a part of life.
As I step back and admire my creation, I feel a wave of fulfillment. My feature wall isn’t just a backdrop; it’s a story, a reflection of who I am. Remember, every mistake is a step towards mastery. Embrace the journey. Ready to transform your space?
For more stunning stencil designs, explore Wall Stencils and let your creativity flow.