
How to do stencil painting on fabric: A step-by-step beginner’s guide
Every time I touch the fabric, I feel a burst of creativity awakening within me. Stencil painting on fabric turns mere textiles into canvases of expression, stories waiting to be told. It’s an invitation to explore, to experiment, and ultimately, to craft something uniquely yours.
What is stencil painting on fabric?
Stencil painting on fabric is a method where you use a stencil—a cut-out design made from materials like plastic or freezer paper—to transfer images onto your fabric using paint. This method simplifies the artistic process, making it accessible for everyone, even beginners.
Supplies needed
- Fabric: Choose natural fibers such as cotton, linen, or silk for the best results. Opt for a tighter weave to minimize paint bleed.
- Paint: Use fabric paint or acrylic paint mixed with a fabric medium to ensure flexibility and durability.
- Stencils: Purchase or create your own using acetate or file folders.
- Brushes: A flat-topped stencil brush is ideal for application.
- Adhesive: A repositionable adhesive spray or freezer paper helps secure the stencil firmly to the fabric.
- Protective gear: An apron and paper towels are essential for keeping things clean.
- Freezer paper: This serves as a stabilizer for stretchy fabrics.
Step-by-step guide
Step 1: Prepare your fabric
Before diving in, prepare your workspace. If you’re working with stretchy fabric, iron the freezer paper onto the wrong side to stabilize it.
Step 2: Position the stencil
With a gentle spray of repositionable adhesive on the back, secure the stencil to your fabric. Alternatively, use freezer paper to achieve the same effect by ironing it shiny side down.
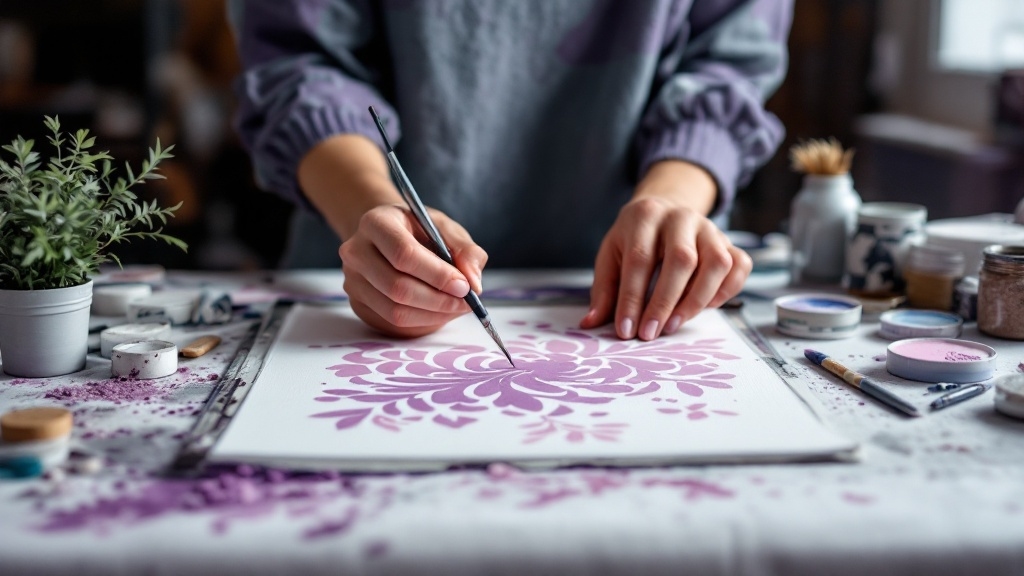
Step 3: Apply paint
Load your brush with paint, but be sure to offload excess onto a paper towel. Apply the paint using an up-and-down stippling motion, layering gradually and allowing each layer to dry.
Step 4: Remove the stencil
While the paint is still wet, carefully lift the stencil off the fabric to reveal your design. Be gentle to avoid any smudging.
Step 5: Clean the stencil
After using, clean your stencil with a baby wipe or damp cloth. If paint has dried, soak it in water first.
Step 6: Add details (optional)
For an artistic edge, consider using dimensional fabric paint to accentuate your design.
Step 7: Heat set the paint
Once fully dry, ensure your artwork withstands wear by heat-setting it. Use a thin towel to protect your fabric from direct heat while ironing the reverse side gently.
Tips and variations
- Choosing the right fabric: Cotton and natural fibers generally deliver the best results.
- Making your own stencils: Get creative—draw a design, and cut it out using an X-acto knife.
- Different painting techniques: Experiment with daubing, swirling, or rolling—each technique adds its unique flair.
- Ensuring crisp lines: Secure your stencil firmly in place to prevent any bleed.
Conclusion
Stencil painting on fabric opens a realm of possibilities, allowing your creativity to stretch beyond boundaries. As you venture into this vibrant world, remember that the beauty lies in your uniqueness. Embrace the process, unleash your imagination, and transform your textiles into heartfelt expressions of art. Discover more creative stencils to enhance your projects and dive deeper into the art of stencil painting.