Price range: 14,99 $ through 99,00 $
Dive into the magical world of creativity with our Plastic Stencil Lady Bugs for Drawing. Inspired by the enchanting tales of magical ladybugs from beloved children’s stories, this stencil set is a dream come true for young artists and craft enthusiasts alike.
Crafted meticulously to spark imagination, each stencil is made of durable plastic, ensuring repeated use and endless creativity. Whether you’re sketching in a notebook, decorating a school project, or creating unique DIY crafts, these ladybug stencils are the perfect companion.
Ideal for kids, art students, and anyone with a passion for drawing, our stencil set offers a fun and educational way to explore art. Here are five exciting ways you can use our ladybug stencils: Create enchanting greeting cards for special occasions Design custom gift wraps and decorations Embellish scrapbooks and photo albums with adorable ladybug motifs Enhance school projects and presentations with creative drawings Personalize home décor items like cushions, mugs, and wall art
Key Features:
• Durable plastic stencils designed with adorable ladybug motifs
• Easy to trace and use for children and adults alike
• Suits for enhancing creativity and artistic skills
• Great tool for DIY crafts, school projects, and art therapy
• Comes with multiple ladybug designs for versatile drawing options
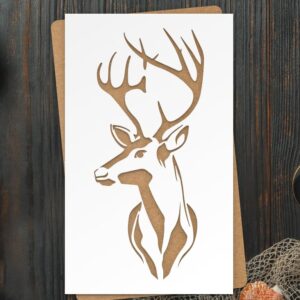
Animal Stencils
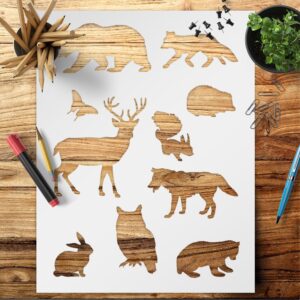
Animal Stencils

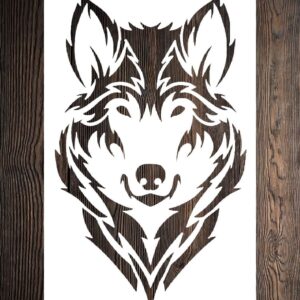
Animal Stencils
Animal Stencils


